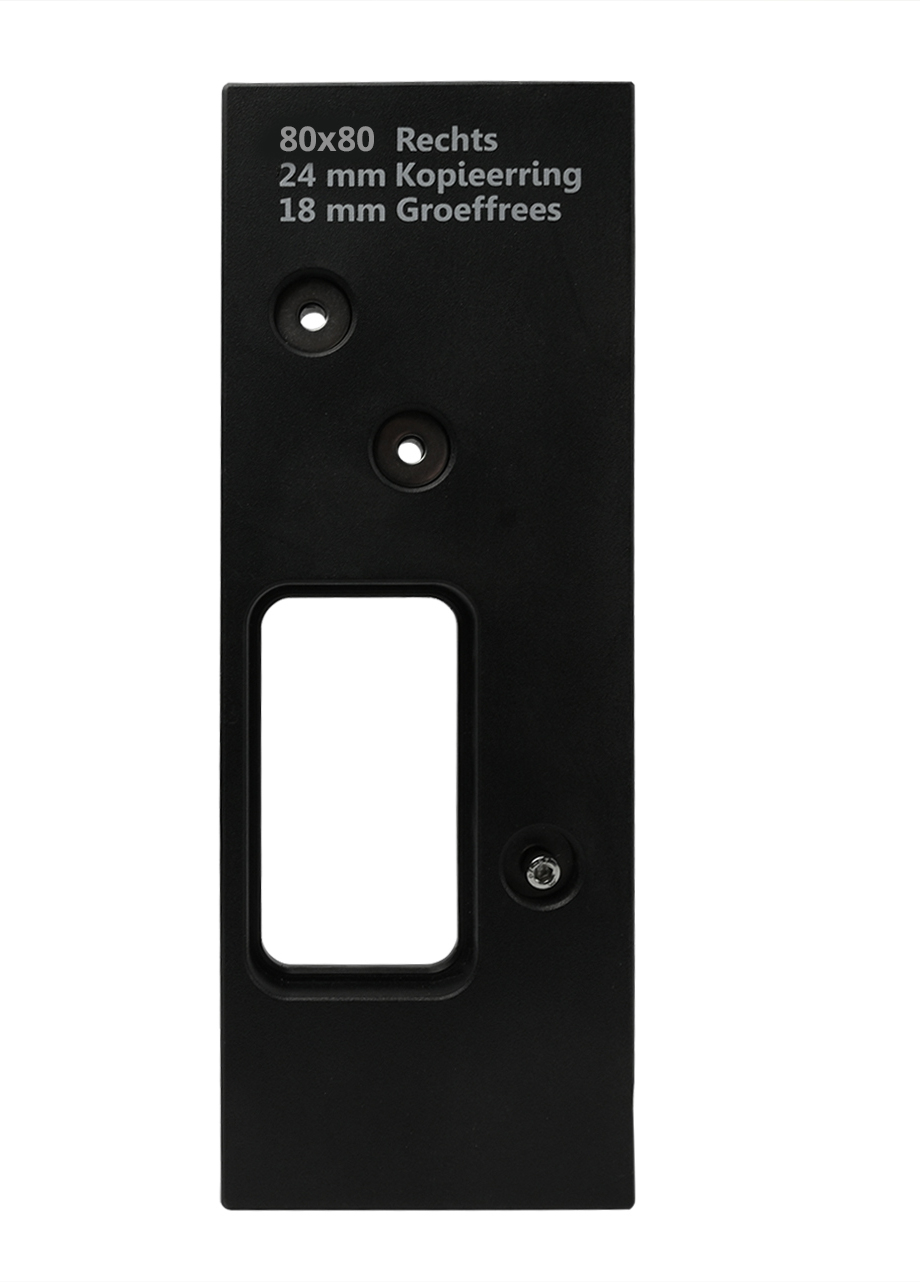
Router jigs 80 x 80 mm Right - Per Piece
Why choose Router jigs 80 x 80 mm Right - Per Piece?
- Useful for routing Hinges
- For right-handed doors
- Compact and easy to transport
Product details
| Brand | Wovar |
|---|---|
| SKU | WV004741 |
| EAN code | 8720647804640 |
| Feature 1 | For 80 x 80 mm Hinges |
| Feature 2 | For right-handed doors |
| Depth | 18 mm |
| Width | 95 mm |
| Height | 260 mm |
| Material | Plastic |
| Thickness | 18 mm |
| Dimensions | 80 x 80 mm |
Router jigs 80 x 80 mm Right - Per Piece
With the router jigs 80 x 80 mm from Wovar, you can put your door in the frame in no time. In fact, this hinge jig allows you to quickly and precisely mill your hinges into your door and frame.
Milling HingesThe router jig for Hinges is made of durable and very strong Plastic. This ensures that the jig has a long lifespan. The dimensions of the hinge jig are 260 x 95 x 18 mm (lxwxd) and features 3 screw holes. This secures the jig to your door and frame and will prevent it from shifting during milling.
.Please note:This router jig is only suitable for right-handed doors. Is your door left-handed? Then use our router jigs Hinges 80 x 80 Left. You can find these in the router jigs category.
.Use the hinge jig to rout hinges
.To rout hinges with a router jig, you will need the following tools:
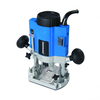
- A router
- A copy ring 24 mm
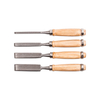
- A router chisel 18 mm
- An allen spanner 2.5 and 4 mm
- Writing and measuring tools
- A screwdriver or drill
- 2-3 screws 4 x 30 mm
- One safety glasses
- A dust cap
- Ear defenders.
The step-by-step guide below explains how to use the router jigs. Use the photos in the gallery above for an additional visual representation of this.
Step 1: Distribute the router jigs where you want to rout out the Hinges. Place the router jigs tightly against the frame rebate. Screw the router jigs in place with 4 x 30 mm screws.
.Step 2: Adjust the router to depth via the router jigs you just placed on the frame. Place the router on the router jig. Now push the 18 mm router chisel into the router up to the raw frame wood and tighten the clamping knob of the router. Please note! Do not turn on the router when doing this! Finally, keep a hinge blade between the depth setting on the router.
.Step 3:Mill the Hinges into the frame. Meanwhile, clean the milled-out parts and repeat the milling process. After all the hinges have been milled out in the frame, you can loosen the screws and remove the router jigs from the frame.
Step 3:Step 3: Once all the hinges have been milled out in the frame, you can loosen the screws and remove the router jigs from the frame.
Step 4:Place the router jigs on the hinge side of the door and secure them with 4 x 30 mm screws. Keep the same depth setting on your router as described in step 2.
Last chance!
Step 5: Mill the Hinges into the door. Meanwhile, clean the milled-out parts and repeat the milling process. After all the hinges have been milled into the door, you can loosen the screws and remove the router jigs from the door.
Step 5:
After milling all the hinges into the door, you can loosen the screws and remove the router jigs from the door.
Step 6: Screw the Hinges into the frame and onto the door. With a business account, you get like a fixed discount.
Is this router jig not quite what you are looking for? Then take a look at our full range of router jigs. In addition to individual router jigs for hinges, we also supply complete router jig sets, a router jig set for a mortise lock and router jigs for strike plates, among other things.
Please check out our full range of router jigs.


